Choosing the Best Concrete Sealer
21st March 2024Concrete sealer may be the final stage of your concrete flooring project, but in many ways it’s the most important. Choosing the best concrete sealer for your floor ensures your new installation has long-lasting protection. This preserves your investment and enhances its visual appeal to ensure you get the professional finish which will ‘wow’ your customers.
Note: You don’t need to be a professional to apply concrete floor sealer, but you do need to know a few tricks of the trade to make the most of the application. This is where we can help – with our customer focused mindset and 30 years experience in the trade, we can help you choose and use your concrete sealer effectively.
Concrete Installation – Why is it so popular?
Concrete is a popular type of flooring for both the inside and outside of properties. Whether paving a driveway, garage or a conservatory, concrete is a versatile choice. As well as being used in domestic environments, you’ll also find it commonly used in commercial settings too, where it might be used as the base for warehouses and workshops or stripped-back retail spaces.
It is affordable, durable and can handle excessive weight which is why it’s useful in driveways or carparks, however it can also suffer from wear and tear quickly if not protected with a coat of quality concrete sealer.
Why Use the Best Concrete Sealer?
Concrete sealant acts as a vital barrier that stops external dust, debris or fluids such as oil, paint or grease. These could all otherwise affect the integrity and quality of your concrete installation. Luckily, our products – the very best concrete sealant products on the market today, provide our customers with an incredible abrasion resistant defence suitable for both indoor and outdoor applications.
Resiblock stocks both concrete floor sealer and concrete driveway sealer and the application process is the same for both. You can get started with your concrete sealant by following these essential steps.
1. Concrete Floor Sealer Testing
It’s usually a good idea to test out your concrete sealant application before applying it to a larger surface area. This is optional but will give you a good idea of the finished appearance of your concrete installation with the sealant layer on top. You’ll also notice how porous your concrete is, which will give you a good idea of how much concrete floor sealer you’ll need to apply.
Simply select a small area of concrete to prep, and then follow the application steps to test out the concrete sealer. You’ll notice that the sealant will look opaque before it dries, but the end result will look transparent.
2. Prepping The Area for Concrete Floor Sealer
Your new installation needs to be clean and entirely free from debris before you begin applying your concrete sealant. If any stains have appeared on the surface, wash these thoroughly before commencing. The area will need to be completely dry before you apply a layer of concrete floor sealer or concrete driveway sealer. If you need to, you can rely on a squeegee to remove any excess water. Once dry, sweep or hoover the top of your concrete to pick up any extra dust that has collected. It’s particularly important to get between your pavers to remove any jointing sand that has lodged there.
3. Using Concrete Sealant On Existing Installations
Concrete sealer can breathe fresh life into the appearance of your existing installation. If you’re looking to refresh your concrete, then it’s imperative that you put plenty of effort into the cleaning stages before you begin to seal.
4. Using Concrete Sealer For The Second Time
If you’ve previously used concrete floor sealer, then you’ll need to remove the entire coat before you apply a new coat. It’s important to get rid of all traces of the previous sealant to produce a floor that shines. If the previous coat of concrete sealant is from a different brand, then there might be compatibility issues which is why the removal step is vital here.
5. Choosing The Right Conditions For Your Concrete Driveway Sealer
Once your concrete surface is thoroughly prepared, you can begin to coat the top of your flooring. You might use a brush, roller, spray or squeegee to smooth the concrete sealer across the entire area. The joints of your paving must be saturated with the sealant to provide extra protection and to ensure that the area is coated evenly.
It’s typical for pools to form during this process, but you should make every effort to smooth these out. You may need to use a sponge or roller to remove the excess fluid. Splashes should also be dealt with quickly using a clean, damp cloth.
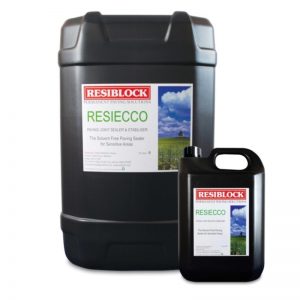
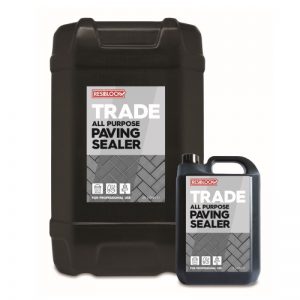
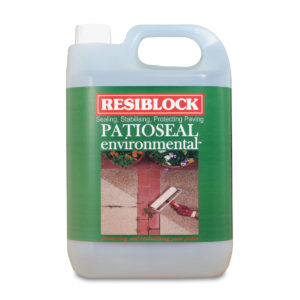
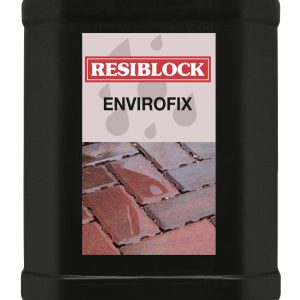
Resiblock concrete sealer products
FAQ’s
When can you apply your concrete sealant?
Existing concrete installations can be sealed just as soon as you have completed the necessary preparation steps. However, you should leave concrete installations for up to 8 weeks before you begin any prep work. This will give it plenty of time to completely dry out.
How many coats of concrete sealant should you use?
Resiblock’s combination of concrete floor sealer and concrete driveway sealer is a one-coat product. This makes it a simple and hassle-free solution which our customers love to use in their paving installations. As soon as the sealant is dry, then you can start to use your flooring. If for any reason you prefer to apply a second coat, this will not cause any adverse problems.
How long will it take the concrete floor sealer to dry out?
So long as you apply the concrete sealant in the right conditions, then it should dry out in as little as 24 hours. Try to apply it when the temperature is between 3 – 30 degrees Celsius and not when it is raining.
Resiblock have a team of specialists who are ready to answer any queries you may have about our range of paving and sealing solutions. To learn more about our concrete sealer, get in touch with Resiblock today .


